Thursday, February 6, 2014

Happy girl and noisy boy

Around Christmas I splurged and bought myself some Silhouette materials - vinyl, cutting blade, mat, etc.  I don't own a Silhouette, and I seriously considered getting one - the deals were that good.  But my sister has one and doesn't mind sharing.  So I just got the 'stuff'.

I've been doing little projects with it to get myself used to how it works.  I've used these papers dolls to print and cut on magnet paper, both for Bryn and for my niece Rhi, and I've made a cute little box to put Rhi's dolls in.

Then a couple of weeks ago, I decided to do something bigger.  I'd seen on Pinterest an idea for cutting your own handwriting with the Silhouette.  Now, my handwriting is nothing to celebrate, but Bryn's 4-and-a-half-year-old letters are precious.  So I had her write her own name and we cut it out with the machine.  It's adorable, no?
 She insisted that she wanted it on her door.   I love the backwards N.

We did one for Henrik, too.  I helped him write his name - he is only 2.8 years old.

I obviously don't know how to use my camera very well.  These two pictures were taken on the same day in very similar light.  Oh, well. I'm learning.

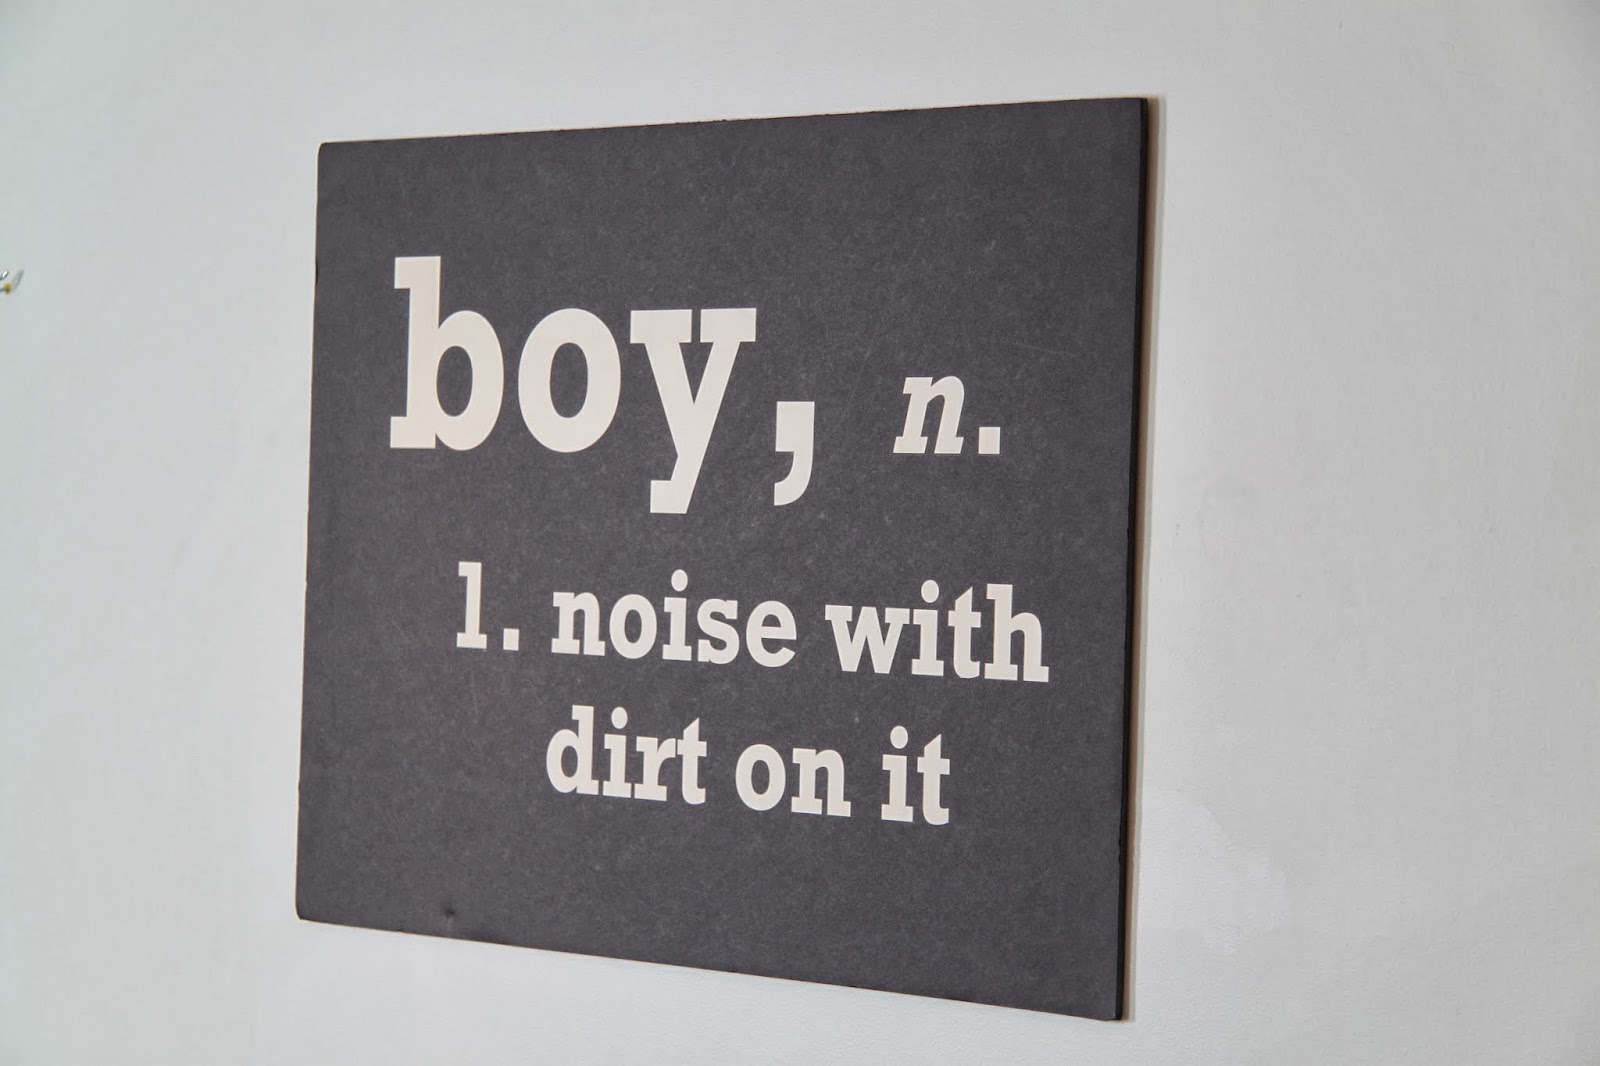
These two names were a practice run for the project I really wanted to do.  I've seen a couple of cute (albeit totally ubiquitous) 'quotes' flying around pinterest and I wanted to use them for my little ones rooms.

Since we're moving I didn't want to just put them up on the walls - I want to be able to take them with us.  So I found some paper faced foam board at Michaels and made them my 'posters'.  They turned out pretty cute, if I say so myself!  The kids love them and have sworn never to play with them.


Thursday, January 9, 2014

DIY Multi-frame Art - Updated

Update:  I've added a comment at the bottom regarding photo quality, etc.  A few people have commented that they'd like to try this, so I'll share a little more detail.

I must be getting a little more sleep, 'cause I have a crafty project to share!  

We are getting our house ready to sell.  We've been getting our house ready to sell for months. But now we're getting serious - we have a meeting with a realtor and everything! 

So it's time to get serious about staging this place that's been our home for more than 10 years.  I recently made (and, shame on me, didn't blog) a gallery wall in our living room.  It's pretty much the first thing you see when you walk in the house.  I'd had the frames for months and Arvid finally brought them upstairs from the basement as if to say 'please put these up, or I think I'll have to get rid of them'.  So I put them up.  And then they sat there, empty, for at least another month.  They had family pictures in them for all of 6 weeks before we decided we should make the whole thing less personal.  You know, to sell the house.  

We love the big multi-frame art you can buy, like these from Get Canvas:

or these from Touch of Class:

But I had spent all that time and effort to put up the gallery wall!  So here's our solution:  1 picture blown up to sixty inches by forty inches. Divided into 12 frames.  Cool, eh? 

I started by setting up the frame arrangement I had in MS Publisher.  There may be a better program for doing something like this, but this is what I have.  I set them all out with their frame widths and tried to get the spacing just right.  Then I chose 5 photos I`d taken of landscapey things and put each one behind the frames in Publisher to see what they`d look like. There was a clear winner.  It had the right variety of colour and texture and sea and land and sky.  I had taken it on Christmas Eve in Victoria before our kids were born.  Notice there`s no snow on the ground in Victoria on December 24.  We should all live in Victoria.  Just sayin`.


I then grouped the whole lot together and copied it over to MS Paint.  Again, maybe not the best program for the job, but I have it and know how to use it.  It did the job just fine.  I was able to cut out just the images inside each frame, save each one separately and upload them to Costco`s photo website.  The prints were ready the next day (thanks Renee for letting me drag you along to pick them up).  And in the frames by dinner time!


I really like how it turned out.  So much so that we may have to recreate this in our next house (wherever that ends up being), and put the family pics somewhere else! 

(links are just for photo credits - I've never used either of these websites or their services).

Comment on photo quality:
When I uploaded the first picture to be printed by Costco, the site brought up a warning that the image quality was too low for the size I was printing.  I got discouraged, thinking that there was no way I was going to find a photo with good enough quality for the size I wanted, and certainly not one I'd taken myself.  In the process of trying to figure out just how big the original photo file needed to be, a came across this post from photokaboom.  From it I learned that I only needed about 40 dpi, not the 300 dpi that the Costco program was looking for. I think my photo was about 90 dpi at the print size I needed it to be. I only sort of believed that it would work, but went ahead and ordered them anyway - it would only be a $30 mistake, if it didn't work.  But it does work!  Close up the pictures are very grainy and pixelated, but from a normal viewing distance of about 6 feet or so, it looks just fine.