Showing posts with label cake. Show all posts

Saturday, July 21, 2012

Ugly Yellow Cake

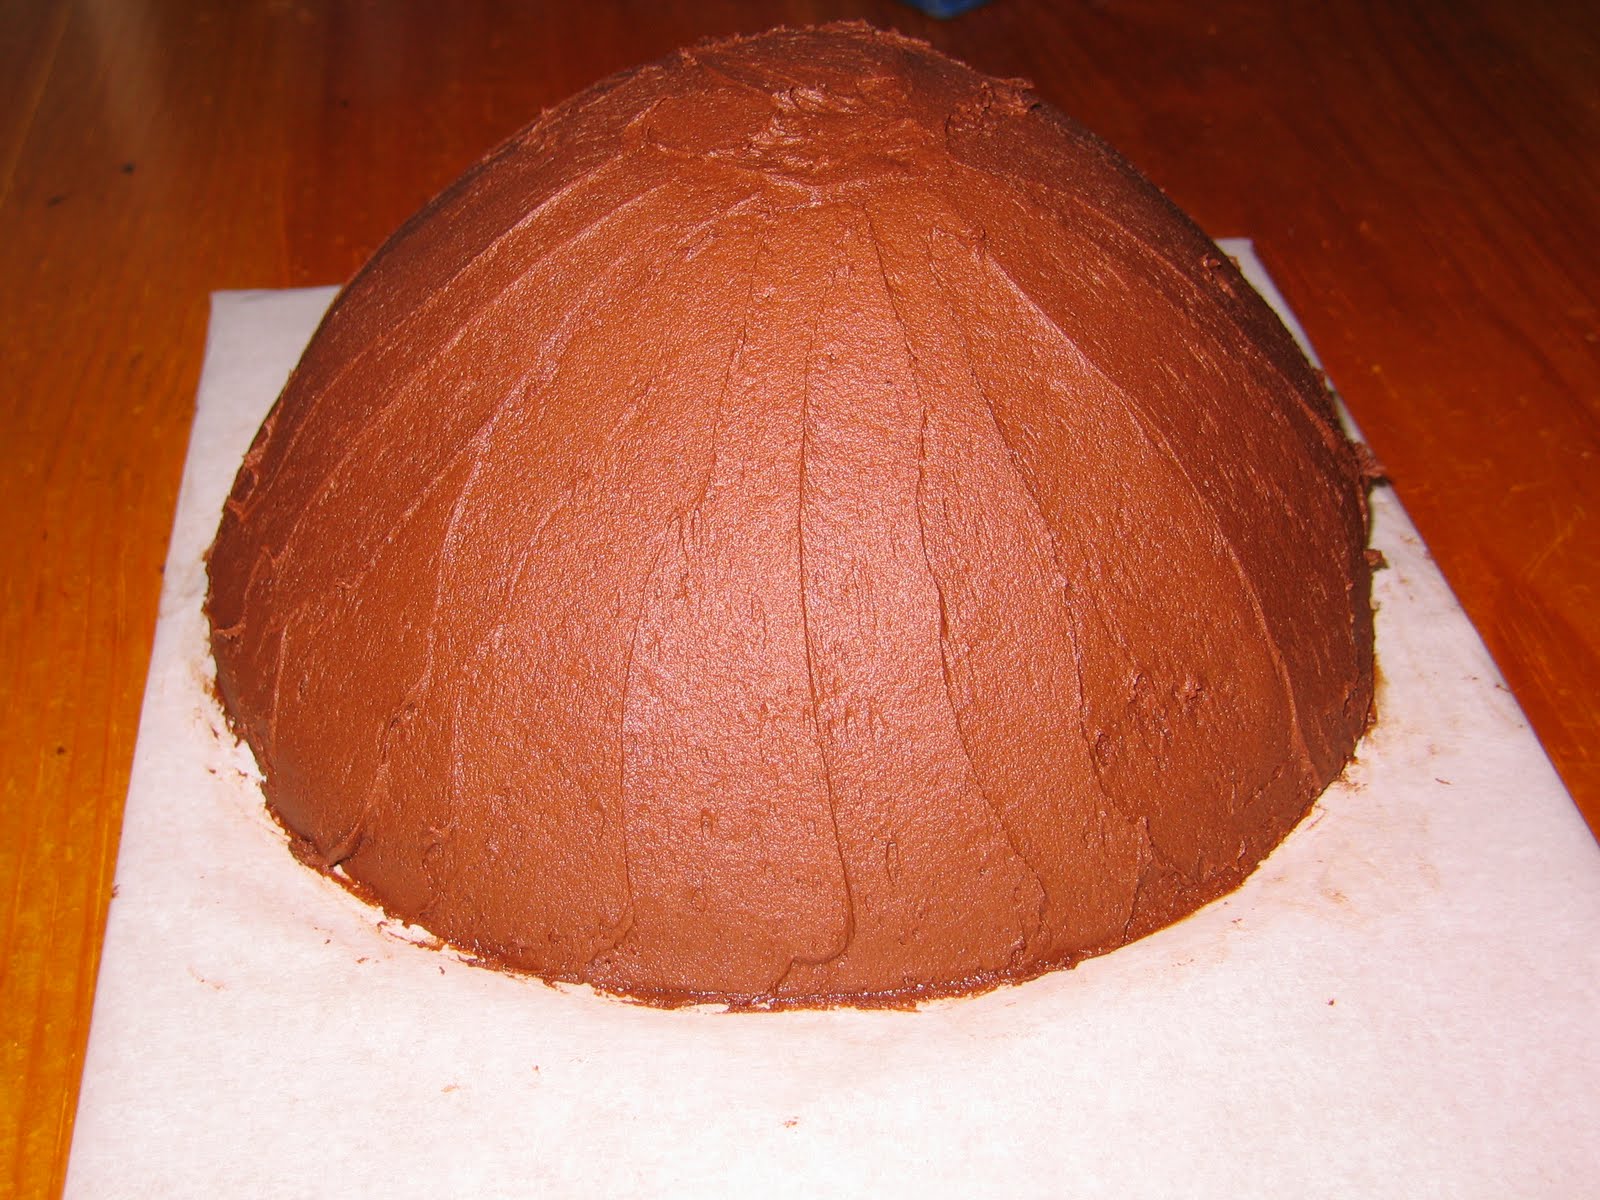
This cake was NOT pretty.


It was tasty, which is far more important than pretty in my opinion.  After all, this is food we're talking about, and dessert, even.  This is why I don't generally use shortening in my icings. Butter tastes way better! 

This cake was supposed to be pretty and tasty, but it just wasn't.

I think I was going for a white chocolate ganache.  Which is kind of a yellowy colour, since white chocolate isn't actually white.  And I didn't wait for the ganache to cool enough before I poured it over the buttercream base.  So it slouched.  Then, I tried to 'fix' it by adding drizzled semi-sweet chocolate on top.  But I think I let it cool too much, so I ended up with a globby mess. 

Not pretty.  Not pretty at all.  But, definitely tasty!

Friday, July 20, 2012

Polka Dot Cake

I saw this cake on one of my favourite cake blogs, i am baker, and knew I HAD to try it sometime.  That sometime finally came in January of this year, for the family birthday party.  It was a hit, and I'd love to do it again and again, 'cause it's pretty neat looking.  But I end up with so much left over icing, because of all of the colours required. And I'd need to buy a few more grass tips.

Tuesday, May 15, 2012

Amelia's Cake

This was one of my harder cakes to design, even though the end result was pretty simple.

This cake was for the January family birthday party.  All of the January birthdays were boys - well, men actually.  My two brothers and one brother in law.  So my original plan was a minimalist, masculine design.  Then came little Amelia.  


She was born on my brother's birthday and lived only 7 hours.  The funeral ended up being on the day we had already planned for the birthday party, so the cake design needed to change.  We needed to celebrate her, too, and a masculine cake just wouldn't do.

I agonized for a few days, spent hours searching online for ideas for a child's funeral cake. But it wasn't a funeral cake, so nothing I found felt right.  It was tough.

I finally settled on this. Basic chocolate ganache (first time I'd tried it), with simple pink fondant stripes and buttercream flowers.  I must say it's one of my favourites.  I should have put a border around the bottom, though.

I think the lettering was genius!  I have a pretty unsteady hand with a piping bag, and I've never liked my own writing.  So I typed the words in PowerPoint with a font I liked, bent them to the right diameter with the 'WordArt' tool, and then printed.  I taped the paper to the cake board and then covered the whole thing with parchment.  I was then able to trace over the lettering with icing, and it looked (almost) like I'd done it freehand.  I would do it on every cake, except tape doesn't stick well to parchment, so I had a hard time getting it to stay put.  Any ideas of what sticks to parchment?

Saturday, May 12, 2012

Cake, glorious cake!

I can't believe I haven't posted a cake for almost a year and a half.  What a slacker!  It's not that I haven't made any cakes, not by a long shot.  I just haven't shared any of them with you.  Shame on me.

So over the next few days (ok, it might turn into a few weeks), I'll be posting the cakes that I've made since the Train Cake.

Let's start with...

The other train cake!

I actually made this one first - I have no idea why I didn't blog it.  I made it for the baby shower of an adorable little baby boy - one of the handsomest kids I know!  It was fun to do it in baby colours, and to play with different icing tips to get dots, squiggles, and little flowers.


Like the rainbow train cake, it was one of the hardest cakes I've made.  The little pieces made it hard to ice, but it turned out so cute, it was pretty worth it!


Tuesday, May 31, 2011

Yellow Cake

I don't really like yellow cake.  I think it has more to do with my love of chocolate cake than any antipathy towards yellow cake.  But it's also usually crumbly and fairly tasteless.  Until now.

I have a favourite chocolate cake recipe that I stole from what used to be RecipeZaar (now Food.com).  It is an amazing recipe, that I have had to do no tweaking to (almost unheard-of in my kitchen).  When people have requested a yellow cake, I've always gone with a boxed mix, since I didn't have a good recipe other than this chocolate one.  I decided last weekend that it was finally time to find a non-chocolate recipe good enough to serve with pride.  And rather than wade thru all the possibilities on all the websites, I thought: 'Why not go with what I already know is good?'.

So I converted my chocolate cake recipe to a yellow cake recipe.  I took out the cocoa, added more eggs and vanilla, and substituted butter for the oil, all in an attempt to add richness and flavour.  I made the recipe into cupcakes for a family reunion, but I had Arvid test them before serving them.  They were awesome!  I can't believe they turned out so good on the first try!  I was fully expecting to need a few more attempts to get it right, but they were perfect  - moist, rich, yummy, yellow cake goodness.

I no longer dislike yellow cake.

Sorry no pictures - it was a crazy weekend and I didn't have time.  I'll make them again and post pictures.

Here's the recipe:


Yellow Cake

Ingredients:
2 cups Sugar
2 ½ cups All-purpose Flour
1½ tsp Baking Powder
1½ tsp baking Soda
1 tsp Salt

4 Eggs
1 cup Milk
½ cup Melted Butter
4 tsp Vanilla Extract

¾ - 1 cup Boiling Water (¾ cup works in Calgary)

Directions:
1 – Preheat oven to 350°F.
2 – Grease (with shortening only!) and flour cake pans (or line cupcake molds with paper liners).
3 – In a large mixer bowl, stir together dry ingredients.
4 – Add eggs, milk, butter, and vanilla.  Beat on medium speed for 2 minutes.
5 – Stir in boiling water by hand.  Batter will be thin.
6 – Pour into prepared pan(s) – no more than 2/3 full or they will overflow.
7 – Bake:   30-35 minutes for 9-inch round pans
                35-40 minutes for 9x13 pan
                15-20 minutes for regular size cupcakes
                1 hour 15 minutes for 9” Pyrex bowl (cover for final 20 minutes)
        Until toothpick inserted in centre comes out clean.
8 – Cool 10 minutes in the pans.  Remove from pan to wire racks and cook completely before icing.
               
Makes:      2 - 9” round cakes, OR
                   1 – 9x13” rectangle cake, OR
                   24+ regular cupcakes, OR
                   1 – 9” Pyrex bowl cake, OR
                   1 – 8” round cake AND 12 cupcakes
                            
        DO NOT fill cake pans or cupcakes more than 2/3 full – they will overflow!

Thursday, November 25, 2010

The Train Cake

For the September birthdays in my family, we had a joint birthday party.  There are 4 of us with birthdays that month, so it just makes sense to do one big party.  I got to make the cake.  Or cakes, in this case.  Since three of the birthdays are kids, I decided to do a fun kiddie cake.

Here's a few pictures of the finished product.


They were pretty straightforward, and I didn't take any pictures during the process.  I started out with 7 chocolate cakes (using my favourite recipe) baked in a mini-loaf pan, and one baked in mini muffin pan.  The loaf pan has 8 loaves, the mini muffin pan makes a dozen and the recipe filled more than the two pans - I used a regular muffin pan to use up the extra.

To make the engine, I cut one of the loaf cakes to sort of notch onto the back of another standing upright. then I added the mini cupcake for the smoke stack, gluing it all together with chocolate buttercream. Now that  I'm trying to describe it, I wish I'd taken a picture before decorating it.

I used tinted buttercream icing for pretty much all the decorating, except the black - I used chocolate buttercream and added some black colour, and the wheels - they are candies I found at the grocery store.

It was probably the most challenging cake I've done so far, since all the pieces were so small they didn't stay put very well as I iced.  I knocked the engine over a couple of times as I was piping on all the little stars.  Probably not a project I'll do again for a long time, but the end product turned out alright.

Friday, August 20, 2010

Renee's Birthday Cakes

When I finished my last cake decorating class, my mom asked me if I'd do the cake for my sister Renee's birthday, a few weeks away.  I was excited to try something new, and started looking around the Wilton website for ideas. What I found was this.  It was perfect.  Renee is a seamstress, and makes lovely wedding dresses.  I decided to just do the big cake, as that would be enough for the usual birthday crowd.

I rented the cake pan from PM Hobbycraft. When I got it home I thought I'd better make 2 cakes, just in case one wasn't enough.  The pan wasn't nearly as big as I thought it would be.  So I came up with a colour and flavour scheme for the second cake (yellow & blue/ lemon & blueberry).


After a couple of mishaps with baking the cakes (I really need to get a louder timer), I had two lovely cakes in my freezer, waiting for the day of the party.


I had to figure out how to make the bodices.  The pattern on the website uses fondant, but I've never worked with it at all before, and I didn't want to practice on a 'real' project.  I'm also too cheap to buy a whole box of fondant for such a small required amount.  I was not going to cover the whole dress in fondant - it doesn't taste nearly as good as 100% butter buttercream.  So, I made them with royal icing.  I used 4 copies of the pattern provided on the website, covered them with waxed paper on a piece of cardboard, and piped and filled in the pattern with the icing, 2 pink and 2 white, as well as piping the hangers.  I waited a few days, then used more royal icing to glue each pair of bodice pieces together, sandwiching the hanger in between.  It worked a whole lot better than I expected it to.

I also had to make all the flowers.  I used a few different drop flower tips (I honestly can't remember which ones), and piped them all on a cookie sheet lined again with waxed paper.  I had decided to use gold peal dust to make the flowers shimmer.  There are two application methods listed on the pearl dust package - I chose the wrong one.  I chose to try the wet method, mixing the dust with clear vanilla and brushing it on with a soft brush.  The shimmer was all blotchy.  Bad enough that I scrapped them all and with only 36 hours 'til party time, re-piped all my flowers and applied the gold dust the with a dry brush.  That was definitely the right choice.  They looked much better.  Unfortunately, the flowers lost some of their definition as I dabbed on the dust, so I don't think I'll use the it on buttercream flowers again - at least not the little flowers.

Once all was prepped, I just had to put it all together.  I cut a slit in the top of each cake, after icing it, and tucked in the bodices.  I then glued all the flowers on with more buttercream icing.  I used  (or broke!) every one of the pink flowers, but only about half of the yellow.


This is actually a simplified account of this project.  I ran into snag after snag, but it was a great learning experience.  I'm glad I have no current cake projects in the works and I can just relax and get ready to go on vacation.

Friday, July 30, 2010

Cake Decorating Class #4 - Final

My last 'Decorating Basics' class was yesterday.  It was a pretty intense class, including learning the Ribbon Rose (here's a picture of the best one I managed), as well as learning to do writing, and decorating our final class project cakes.


I had prepped a bunch of drop flowers ahead of time, letting them dry for 24 hours to get them hard enough to move to the cake.


I hadn't planned to write anything on the cake - I was sending it to work with Arvid, so I didn't really want to write 'Happy Birthday'.  So when I was making th icing, I just coloured the stuff I was going to use for icing any green, just for practicing.  Then I decided I should write 'Happy Friday', but I felt really rushed to finish my cake in class (I spent a rediculous amount of time on the roses), so I didn't take the time to prep a better colour for writing.  I wish I had - I think the green of the writing is just too bright.  Oh well, I'll know for next time.


I think, on the whole, it turned out really nicely.  I sent it to work with Arvid, and he said it was a hit (but what free and unexpected cake isn't).  Here are a few more pictures.  Enjoy.

Sunday, July 25, 2010

Cake Decorating Class - #3


This week's cake decorating class was cupcakes - and I had so much fun with them. We filled our cupcakes (I used puréed cherry pie filling), then decorated them.


 We also learned drop flowers and leaves, which I had tried on my own before, but couldn't figure out.  It turns out they're really easy and I just needed to know a few tricks.  I like them a lot, so I'm going to use them on my final cake next week.


My favourite cupcake happened by mistake (so many good things started out that way!).  I was running out of white icing and had a couple of cupcakes left to do, so I added the extra pink icing I had to the bag and just kept piping.  I ended up with the pink and white swirl you see to the left.  I like it so much, I think I'll do it on purpose next time!

Friday, July 16, 2010

Cake Decorating Class - #2

I'm taking a Wilton cake decorating class! It's something I've wanted to do for a long time, but it just didn't happen until now.

I'm really enjoying it.  Yesterday we made our first cakes (the first week was cookies).  I was surprised at how easily the techniques came to me - I thought I'd have trouble with anything but stars.  It's amazing what I difference using the right icing consistency can make!


Here is a picture of the finished product.

It's the first time I've torted a cake (cut it in half and filled it with something).  I'm really happy that I bought the cake leveler, which made the torting cut very easy.

I'm excited for next week - we're filling cupcakes and learning drop flowers - yay!


PS: I realize there's no Cake Decorating Class #1 post, but I forgot to take pictures last week, so it would have been a pretty boring post.

Monday, April 19, 2010

Bryn's Ladybug Birthday Cake

For Bryn's first birthday I decided to make a ladybug cake.  I got the idea from Cake Decorating Corner, but I couldn't find the right Pyrex bowls, so I searched ladybug cakes again and found Jenny Cisney's blog post.  I used her ideas for the body shape.

Here are some pictures of the cake, along with a basic idea of how I made it.


I used a 9" Pyrex bowl and a 9" round cake pan for the body, and a 2 cup Pyrex measuring cup for the head.   A double layer cake batch filled the bowl just right, and a second double layer batch was enough for the cake pan, the head (about 1 cup of batter, I think), and 6 cupcakes.

I used a half-batch of Wilton's Chocolate Buttercream Icing to glue the body pieces together - I made it pretty stiff.  I used Wilton's Buttercream Icing with strawberry juice reduction instead of milk, to start the red colour and to give it a strawberry flavour.  It took a lot of red food colouring (the good Wilton 'No-Taste' red gel) to get the colour so rich.  It didn't look red at first, but it turned quite red as I let it sit.  I made all the icing the day before.

I used black food colouring on another half-batch of chocolate buttercream icing for the face and spots.

I covered the body with a flat layer of red icing.  I then piped on the white (eyes), black and more red using star tips (#16 and #17).  It looked pretty neat with the flat red and just the spots and face done in stars. Next time I might make the flat red layer much thicker and just add the black with the piping bag.  It would sure have saved a lot of time and my hand wouldn't have been so tired!

Thanks to Renee Bowkett for the first 2 pictures!